How to install a self-signed SSL certificate in Plesk
This article describes how to generate and install a self-signed SSL certificate in Plesk.
Table of Contents
Installing a self-signed certificate
You can install a self-signed SSL certificate on your A2 Hosting account for testing and development purposes.
To create and install a self-signed SSL certificate using Plesk, follow these steps:
- Log in to Plesk.If you do not know how to log in to your Plesk account, please see this article.
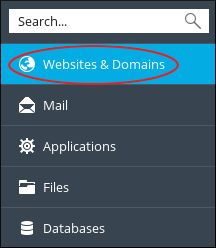
- In the left sidebar, click Websites & Domains:
- Click SSL/TLS Certificates:
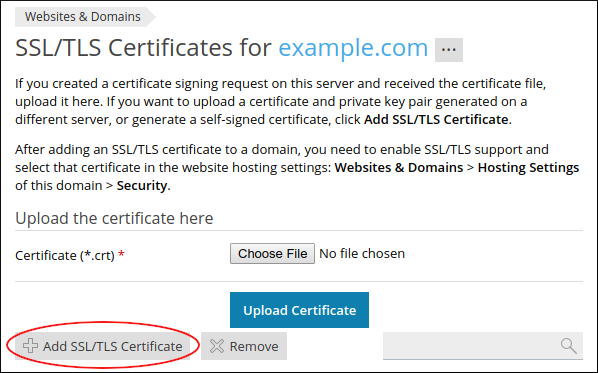
On the SSL/TLS Certificates page, click :
On the Add SSL/TLS Certificate page, in the Certificate name text box, type a name for the certificate.
The name can be anything you want. Plesk only uses the name to differentiate between multiple certificates.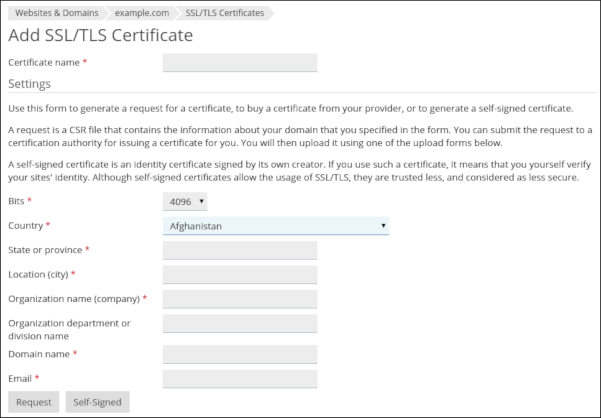
- In the Bits list box, select 4096.
- In the Country, State or province, Location (city), and Organization name (company) text boxes, type
In the Domain name text box, type the domain that you want to secure with the self-signed certificate, such as test.example.com.
You can also generate a wildcard certificate. To do this, start the domain name with an asterisk (*). For example, to protect example.com and all of its subdomains, type *.example.com.- In the Email text box, type your e-mail address.
- Click . Plesk generates the self-signed certificate, but you still need to install it.
- In the left sidebar, click Websites & Domains:
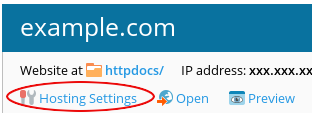
Click Hosting Settings:
Under Security, confirm the SSL/TLS support check box is selected:
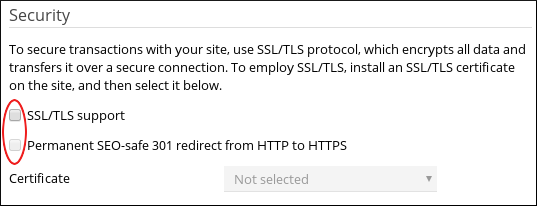
- To permanently redirect all insecure (http://) requests to secure (https://) requests, select the Permanent SEO-safe 301 redirect from HTTP to HTTPS check box.
- In the Certificate list box, select the name of the certificate you specified in step 5.
- Click . You can now securely access the specified domain by using the https:// prefix in a web browser, but you will receive a warning message about the self-signed certificate.
Article Details
- Operating System: Linux Hosting
- Control Panel: Plesk
- Product: Managed WordPress with Plesk
- Level: Beginner
Grow Your Web Business
Subscribe to receive weekly cutting edge tips, strategies, and news you need to grow your web business.
No charge. Unsubscribe anytime.
Did you find this article helpful? Then you'll love our support. Experience the A2 Hosting difference today and get a pre-secured, pre-optimized website. Check out our web hosting plans today.