How to use Git with Plesk
This article describes how to configure Plesk's integration with the Git version control system.
Setting up a remote repository
In Plesk, you can configure a remote Git repository and pull files to your site. To do this, follow these steps:
- Log in to Plesk.If you do not know how to log in to your Plesk account, please see this article.
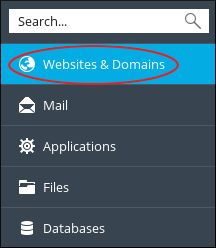
- In the left sidebar, click Websites & Domains:
- Locate the domain you want to configure, and then click the Git icon:

On the Add Git Repository page, confirm the Remote Git hosting like GitHub or BitBucket option is selected:

In the Remote Git repository text box, type the URL where the remote repository is hosted:
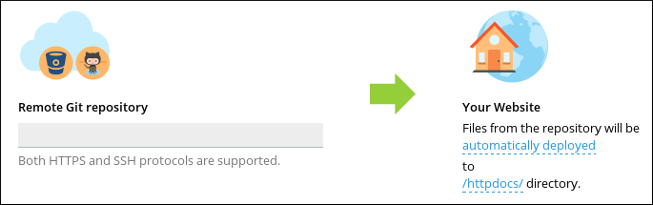 Plesk supports HTTPS and SSH protocols for Git.
- To select the deployment mode, click automatically deployed, select the mode you want, and then click .
- To select the deployment directory on your site, click /httpdocs/, select the local directory you want to use, and then click .
Click . Plesk clones the remote repository into the local directory you specified in step 7.
To pull updates from the remote repository, click .
Creating a local repository
In Plesk, you can create a local Git repository. To do this, follow these steps:
- Log in to Plesk.If you do not know how to log in to your Plesk account, please see this article.
- In the left sidebar, click Websites & Domains:
- Locate the domain you want to configure, and then click the Git icon:
- Click .
Select Local repository on your workstation:

In the Git Repository in Plesk text box, type the name of the new repository:
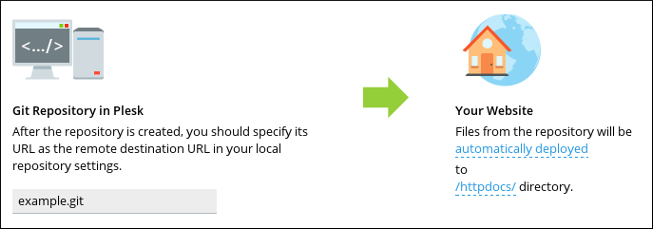
- To select the deployment mode, click automatically deployed, select the mode you want, and then click .
- To select the deployment directory on your site, click /httpdocs/, select the local directory you want to use, and then click .
- Click . Plesk creates the local repository.
Editing repository settings
To edit the settings of an existing repository in Plesk, follow these steps:
- Log in to Plesk.If you do not know how to log in to your Plesk account, please see this article.
- In the left sidebar, click Websites & Domains:
- Locate the domain you want to configure, and then click the Git icon:
Locate the Git repository you want to edit, and then click Repository Settings:

- On the settings page, make the changes you want, and then click . Plesk updates the settings.
More Information
- For more information about Git, please visit https://git-scm.com.
For more information about Plesk, please visit https://www.plesk.com.
Article Details
- Operating System: Linux Hosting
- Control Panel: Plesk
- Product: Managed WordPress with Plesk
- Level: Intermediate
Grow Your Web Business
Subscribe to receive weekly cutting edge tips, strategies, and news you need to grow your web business.
No charge. Unsubscribe anytime.
Did you find this article helpful? Then you'll love our support. Experience the A2 Hosting difference today and get a pre-secured, pre-optimized website. Check out our web hosting plans today.